Many overlanders become attached to their vehicles, giving them names, an identity, and have a lasting attachment to them unlike any other car they may own. It also makes sense for those moments when you need to curse at your car for not working or being too slow.
Well, whilst a Toyota Hilux is considered a good choice for such a trip they are not the most fuel efficient or environmentally friendly. So, after a couple of beers one day it was decided to name her Greta, after Thunberg, because it’s only a car and a little bit of fun!
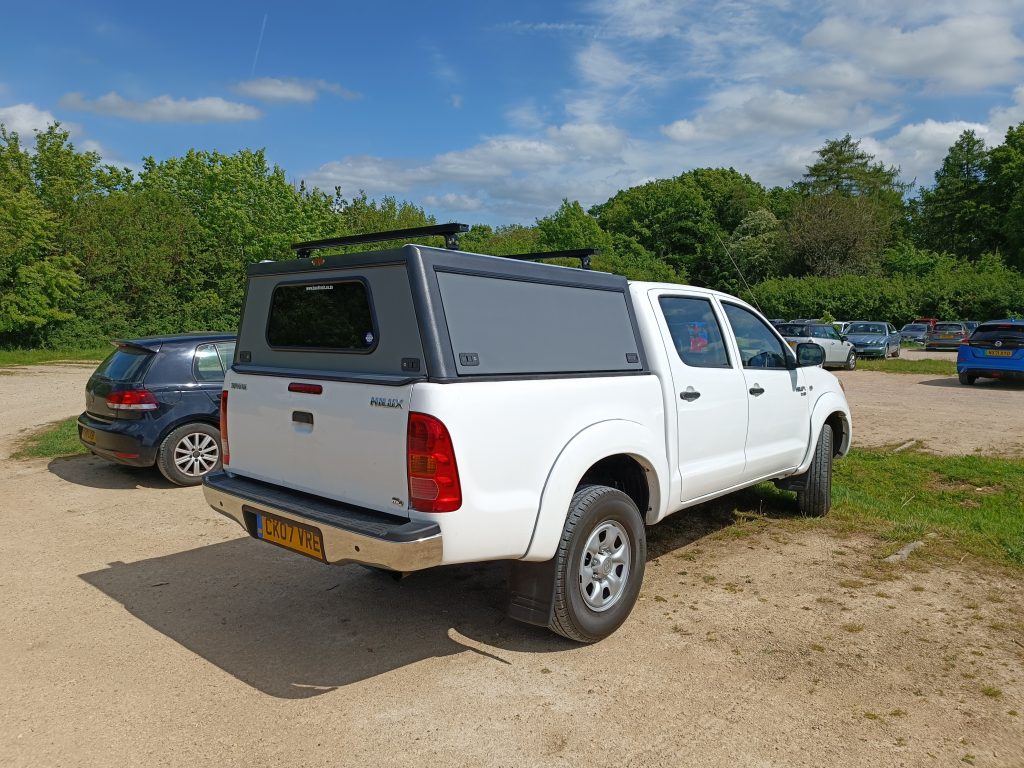
We purchased Greta from Rufford Garage in Nottinghamshire back in April 2022. At this time she was 15 years old, had already clocked up around 148,000 miles, and had 3 owners. But she was in overall good shape and met our budget at £7,500.
She came with an old fibreglass canopy which we removed, as well as the bumper which we replaced with a cheap replacement from Powerful UK Ltd.
One of the first things done to the vehicle was installing the new canopy from Bushtech a South African business. Imported and installed by Expedition Equipment (APB) in Worcestershire, they did a great job of removing the old ladder frame on the tub and installing the canopy and dust kit.
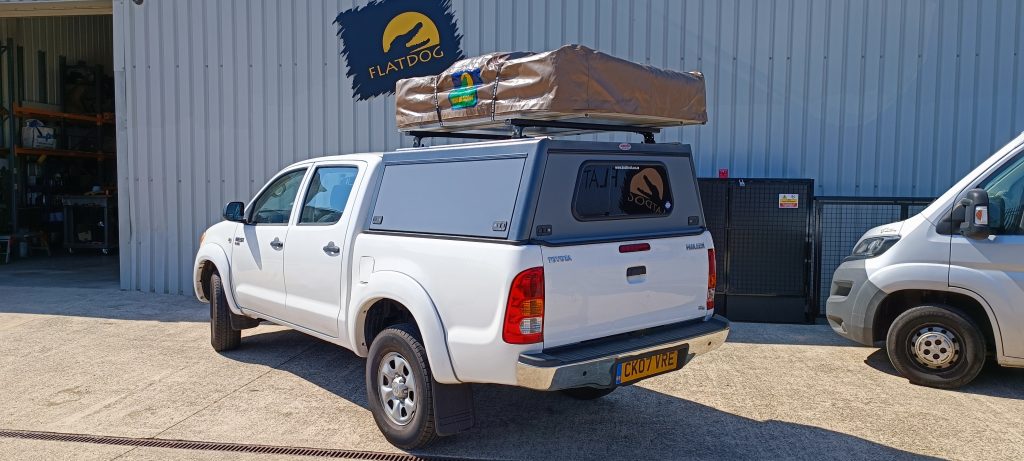
It is an expensive addition, at around £1,950 including installation, but it is a very strong and versatile aluminium canopy with side and rear opening doors, as well as t-tracks on the roof for additional kit. Unlike fibre glass canopies this is load bearing, rated for around 2.5 tonnes, so it can comfortably take a roof top tent and two people without any problems.
There were a few things needed to be fixed or improved before we could take the machine on the road. First thing was having the injectors inspected by AutoCare in Canterbury. Turned out these were swollen, which is not too much of a surprise given it’s age. So we opted to have them all replaced which cost around £1,600.
We also replaced the front brake pads and pins (rear brakes were new), replaced all five rims and tyres from 4x4tyres.co.uk with BF Goodrich KO2’s,
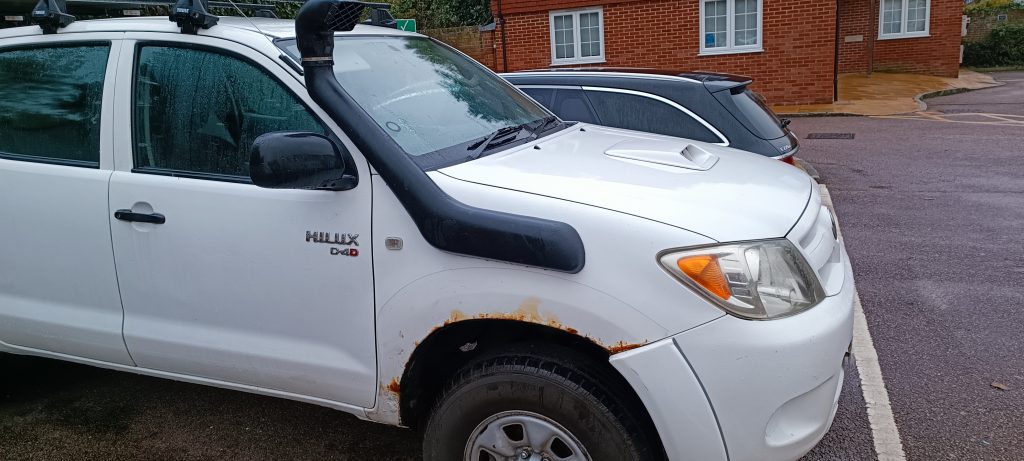
Lastly, before we could build out the inside of the canopy there was some serious rust, which is understandable given a pickup truck exposed to the riggers of UK weather. So we were put onto a chap called Greg who did a fantastic job cutting out the rot and welding in new plate steel and box section.
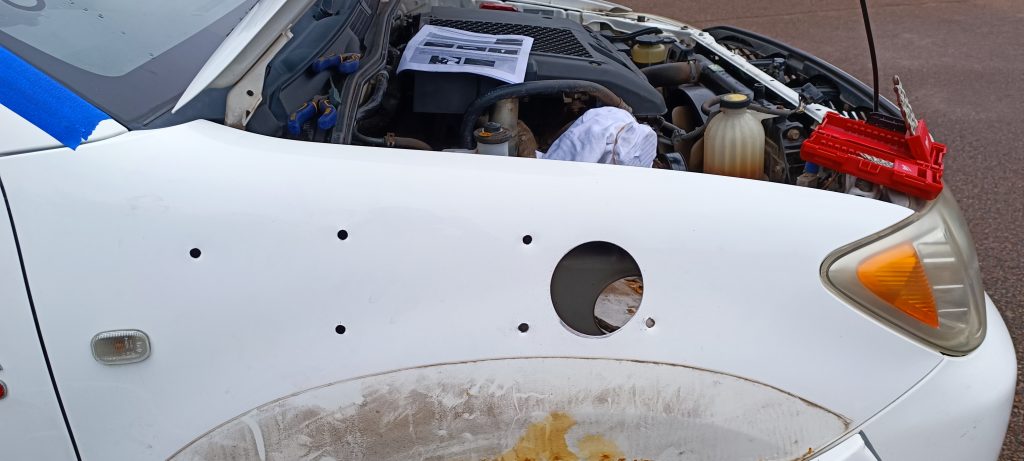
Allen installed a raised air intake which was about £120 from RoughTrax 4×4. A relatively simple kit to do, but does take a few hours, and a few tools such as hole saws and a rivet gun or rivnut tool.
Although we have watched a lot of videos, read a couple of books, and looked at a lot of suppliers we knew we needed a little bit of help with the electrical install. It seems all to easy to use the wrong fuse size, cable size, etc.
After making some enquires Simon of Caravan and Campervan Electrical Services got in touch and through a few phone calls and lots of emails he was excellent in helping us with laying out my wiring diagram, ensuring we use all of the right parts, and helped give us confidence that it wasn’t going to catch fire on day one of the trip.
We are using a lot of Renogy components. They seem to be pretty plug and play, and I couldn’t afford to use Victron which seems to be the preferred brand for many van lifers / overlanders.
So on the roof are two 100W non flexible solar panels mounted onto Thule roof bars with some U bolts off ebay. These are wired into a 50A DC-DC MPPT charge controller, plugged into a 200ah lithium battery. There is a healthy 2AWG wire going to the car battery for alternator charging (although thats been giving me grief), with circuit breakers and isolator switches in places for protection.
The charge controller is then hooked up to a cheap and simple (not Blue Sea) fuse box for power distribution. There are also a couple of 250A busbars helping to distribute / collate the positive and negative lines.
We are also using a Renogy 2000W invertor hooked up to a 1800W Duxtop single induction hob. I was taking a risk with the inverter size, but it has been working a treat so far. Using a power monitor from a friend I find running it around 1/2 – 2/3 power is well under the range for the inverter and provides plenty of power for boiling water and cooking food.
We are using a T-max air compressor for airing up the tyres, cleaning the air filter, and cleaning the car. This is hard mounted into the tub, with a 2AWG cable running to the car battery on a circuit breaker which I switch on when I want power. This has worked a treat so far, along with a 10metre hose I made up, plus a good quality pressure gauge to make up for the rubbish one which comes with it.
There is a Dometic Cfx3 45 refrigerator wired in to the fuse panel with an anderson connector wired in allowing me to easily disconnect and remove the fridge if required.
This fridge is great since it is quite large internally, allowing for a full wine bottle upright, but more importantly several bottles of water which we can then fill up our daily water bottles with. It also has inner cages to compartmentalise things, is pretty durable, and just works!
Thanks to our paramedic friend Mike we had a lot of help in preparing this. He was really helpful in directing us as to what we should put inside, and how to use them. We got a slightly oversized first aid ‘messenger’ bag from Alibaba, and it is great. Inside are lots of zipped pouches to store plasters, bandages, medications, and more.
Jerry cans – Purchased two yellow jerry cans.
(Just a few of the many good ones out there)